< Previous photo
NEXT photo >
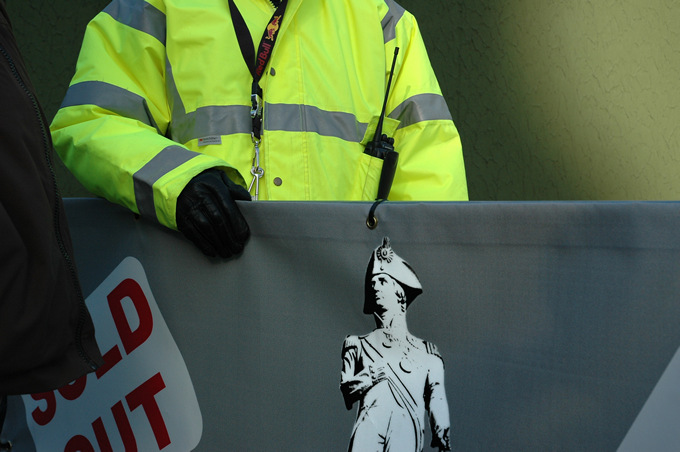
Supply and demand:
the early bird gets the worm
Back to main page